Conditions act as decision nodes that dynamically route users down different paths based on data collected during verification. You can use them to control which modules each user encounters.
Info
You configure a Condition when you add it to a Workflow. This task assumes you are already building a Workflow.
The modules, operators, and values available in a Condition depend on which modules are in your Workflow. See each module's configuration documentation for the Condition options it supports.
The way you set conditions depends on whether you have the New or Classic view enabled in the toggle in the top right in your Workflow.
Configure Conditions in New View
Expand to view image
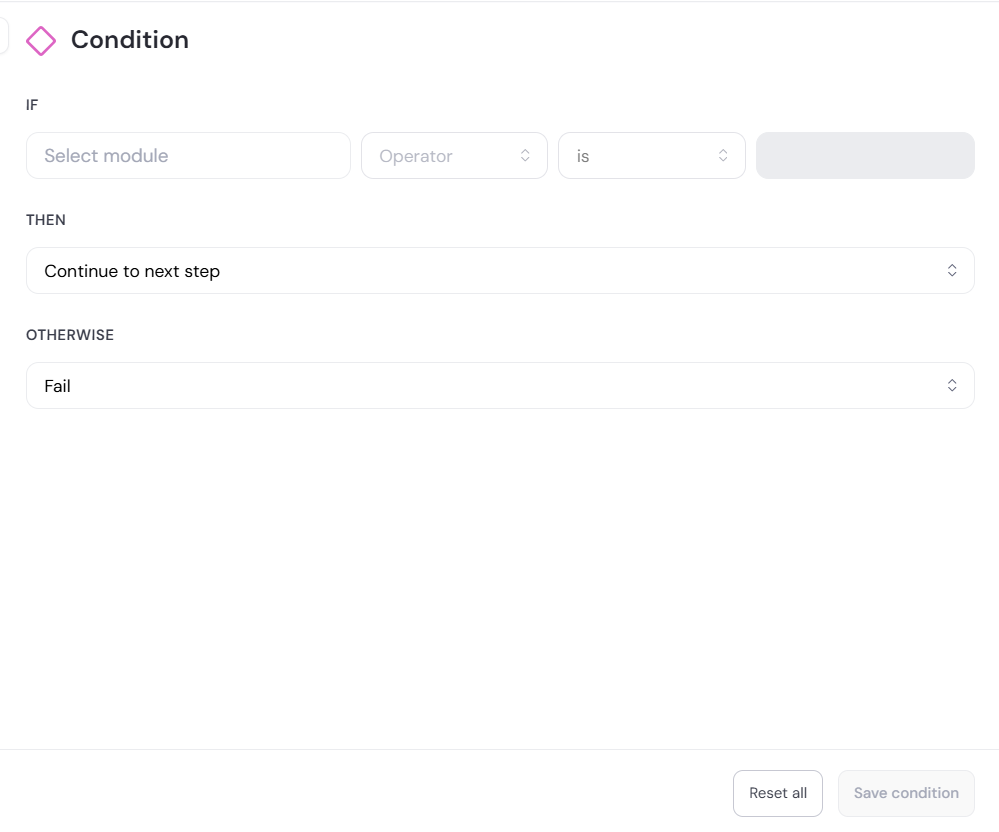
In New view, the Condition panel adapts its fields based on the signal you select. Check-type signals show a single Select condition drop-down with pass, fail, and warning options. Numeric signals show an operator drop-down with comparison options plus a value field. Other signal types may present different field combinations.
- From the Workflow builder, click Add node
 > Conditions.
- In the first drop-down under IF, search for and select the signal you want to drive the condition. Signals are grouped, with a count of signals per group and the total across all groups. Expand a group to browse its signals. When you select a signal, the remaining fields update based on the signal type.
- For check-type signals, use the Select condition drop-down to choose passes, does not pass, fails, does not fail, has a warning, or has no warning.
- For numeric signals, use the operator drop-down to choose is, is not, is more than, is less than, is at least, or is at most, then enter the comparison value.
- You can add more rules to the condition. Click And or Or below the IF expression and follow step 2 again. And requires all rules to be met; Or requires any one rule to be met.
- Use the THEN drop-down to select what happens when the expression evaluates to true. Options are:
- Continue to next step
- Pass
- Fail
- Warn
- Manual Review
- In the OTHERWISE drop-down, select what happens when the expression evaluates to false. The options are the same as for THEN. The default is Fail.
- Click Save condition. To clear all fields and start over, click Reset all.
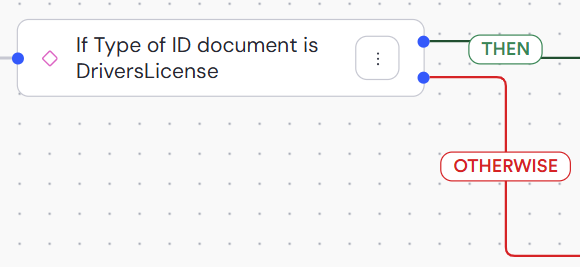
The condition node displays the IF expression, with the THEN and OTHERWISE paths branching horizontally to the outcomes you selected.
Expand to view image
Configure Conditions in Classic View
Expand to view image
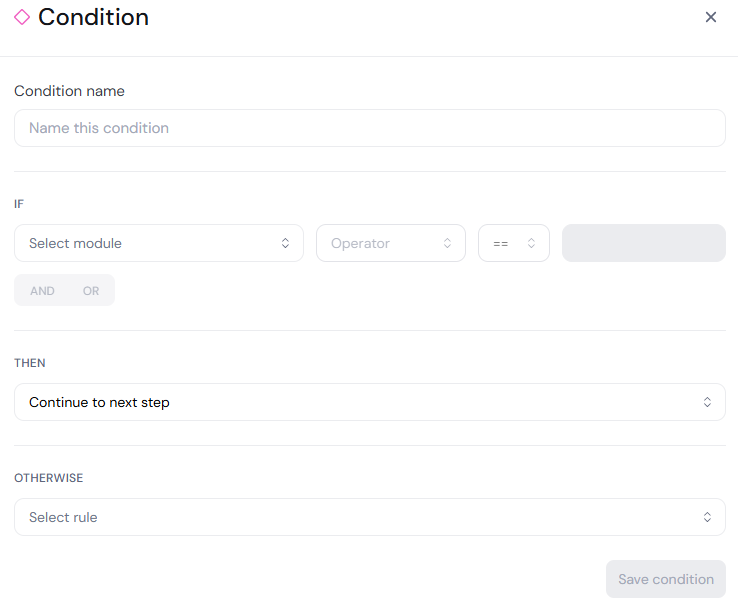
- From the Workflow builder menu, click Conditions. Drag the condition node onto the canvas.
- In the Condition panel, you can enter Condition name. The name appears on the condition node in the canvas.
- Under IF, define the expression that the condition evaluates:
- Use the Select module drop-down to select the data the condition is based on. Options are organized by the module the data comes from, and you can search or filter by module.
- Use the Operator drop-down to select an operator.
- Use the next drop-down to choose how the value should be compared, such as equals, does not equal, greater than, or less than.
- Use the next field to set the value for the expression. This field may be a drop-down or a text box, depending on the operator you selected.
- To add more rules to the condition:
- Click AND if all rules must be met.
- Click OR if any one rule must be met.
- Under THEN, select what happens when the expression evaluates to true. Options are:
- Continue to next step
- Pass session
- Fail session
- Warn session
- Manual review session
- Under OTHERWISE, select what happens when the expression evaluates to false. The options are the same as for THEN.
- Click Save condition.
Conditions on the canvas
The condition node displays the IF expression beneath its name, and the THEN and OTHERWISE paths branch to the outcomes you selected.
Expand to view image
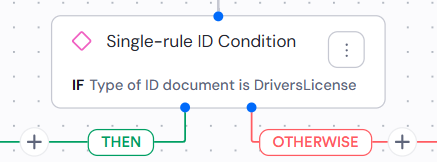
If the condition has multiple rules, the node shows the first rule with a +n more indicator. Hover over the node to see the full expression.
Expand to view image
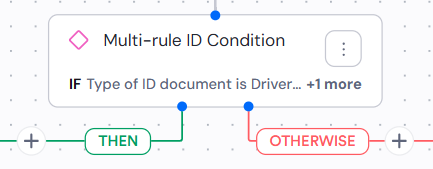
You can add more modules, processes, or conditions along either path to extend the user journey.