
Create a Workflow
Select and customize Omni Dashboard templates to simplify new flow setup.
With the release of Workflows 2.0, the content in this section has been revised and moved to our new Dashboard > Workflows 2.0 section. This page will be removed within the next few weeks. You should update any bookmarks as soon as possible.
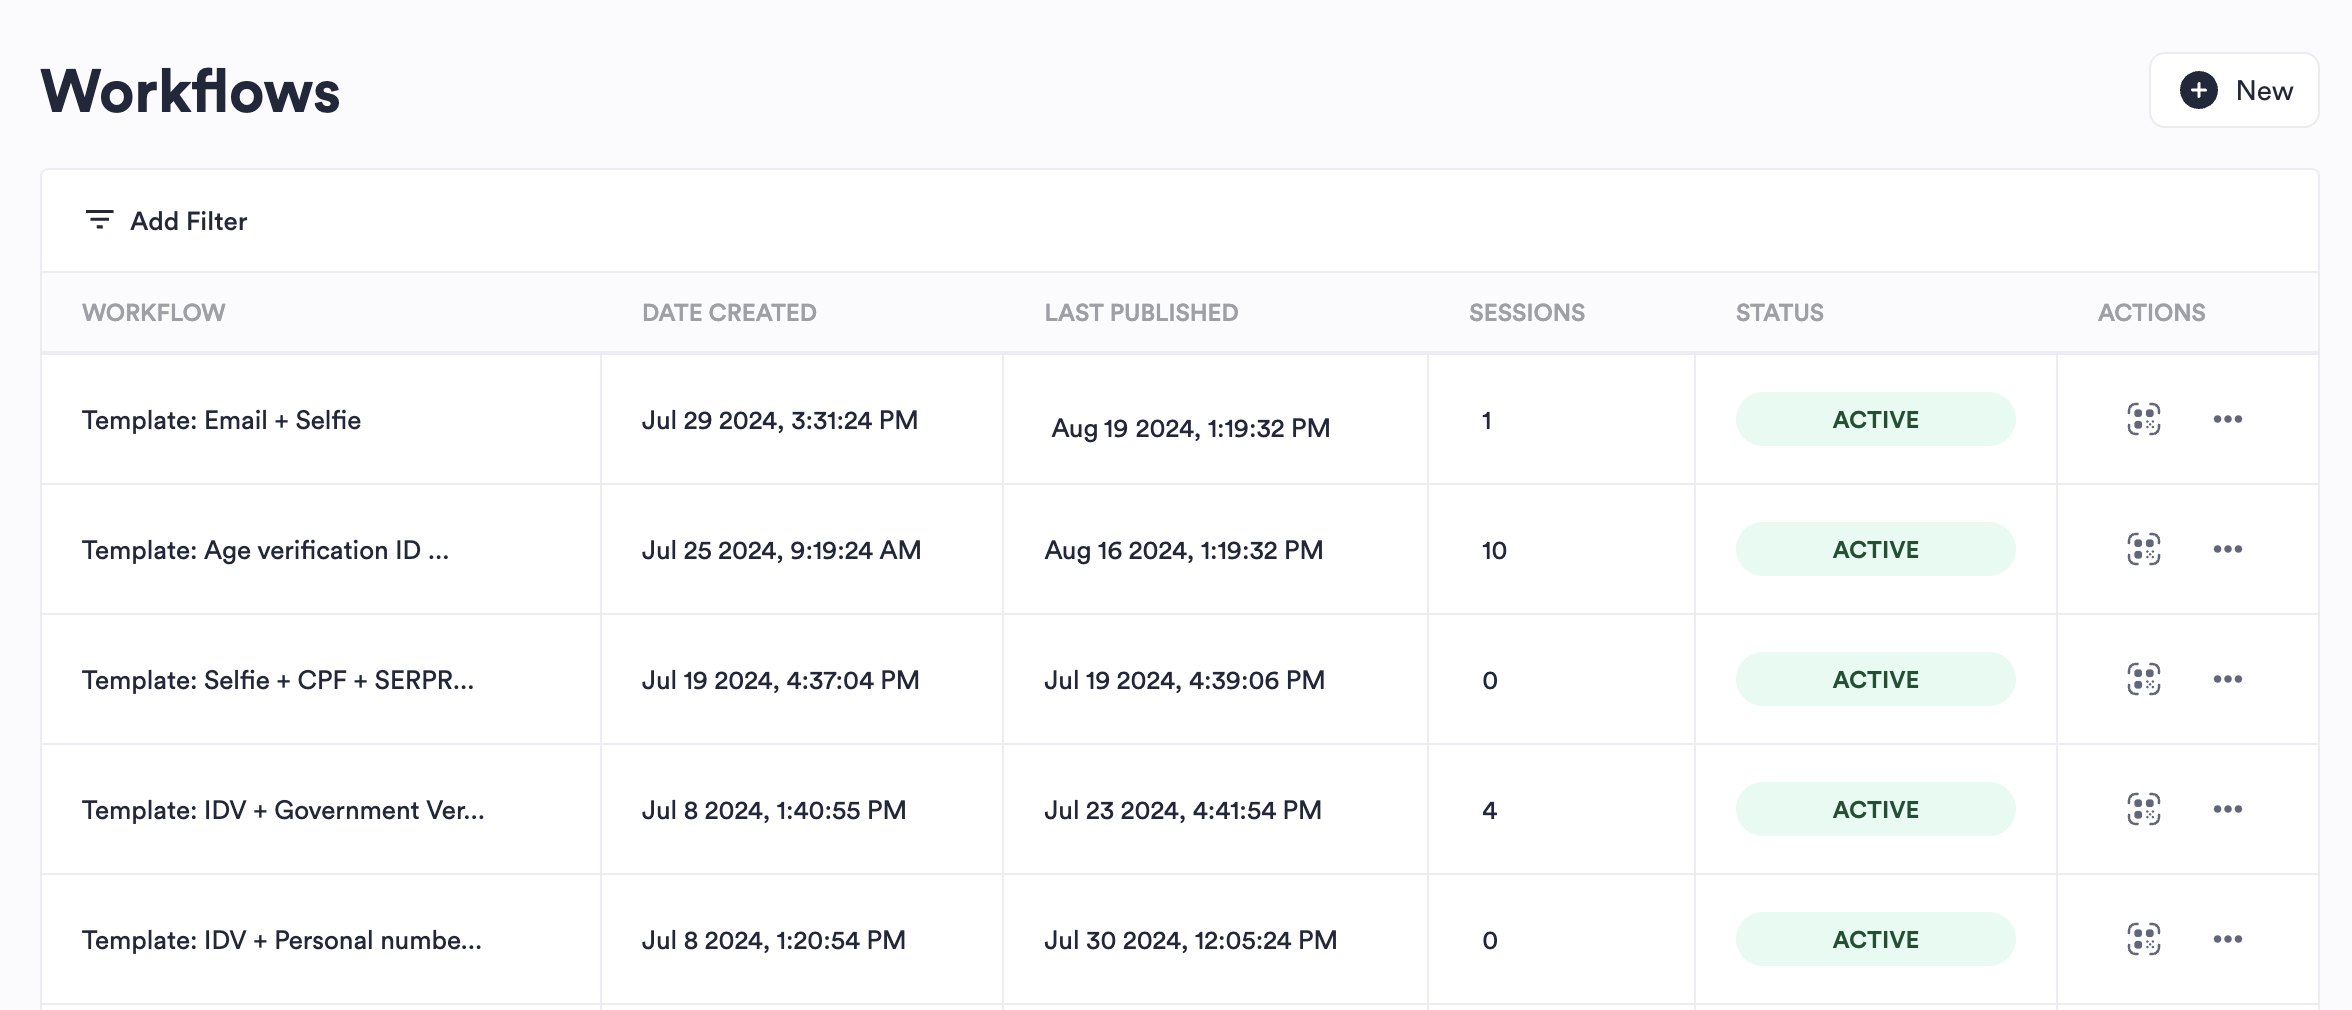
List of all created workflows
Create a Workflow
- Log into the Omni Dashboard and click Workflows in the left navigation menu.
- Click New.
- Select a template, then click Next.
- Each template comes with a description to help you understand its purpose and the specific processes it's designed for.
- The option to build your own workflow from scratch is an add-on feature. Contact your Incode representative if you are interested in this functionality.
- You can modify the workflow to fit your needs by configuring settings for each node or adding or removing nodes. When you are satisfied with the workflow, click Next.
- Enter a name for the workflow, and configure any additional settings. Click Next.
Test a Workflow
After publishing, you should test your workflow to ensure it operates as intended. Scan the QR code presented when you publish the workflow to go through the user journey. Pay close attention to how the workflow behaves and make any necessary adjustments based on your findings.
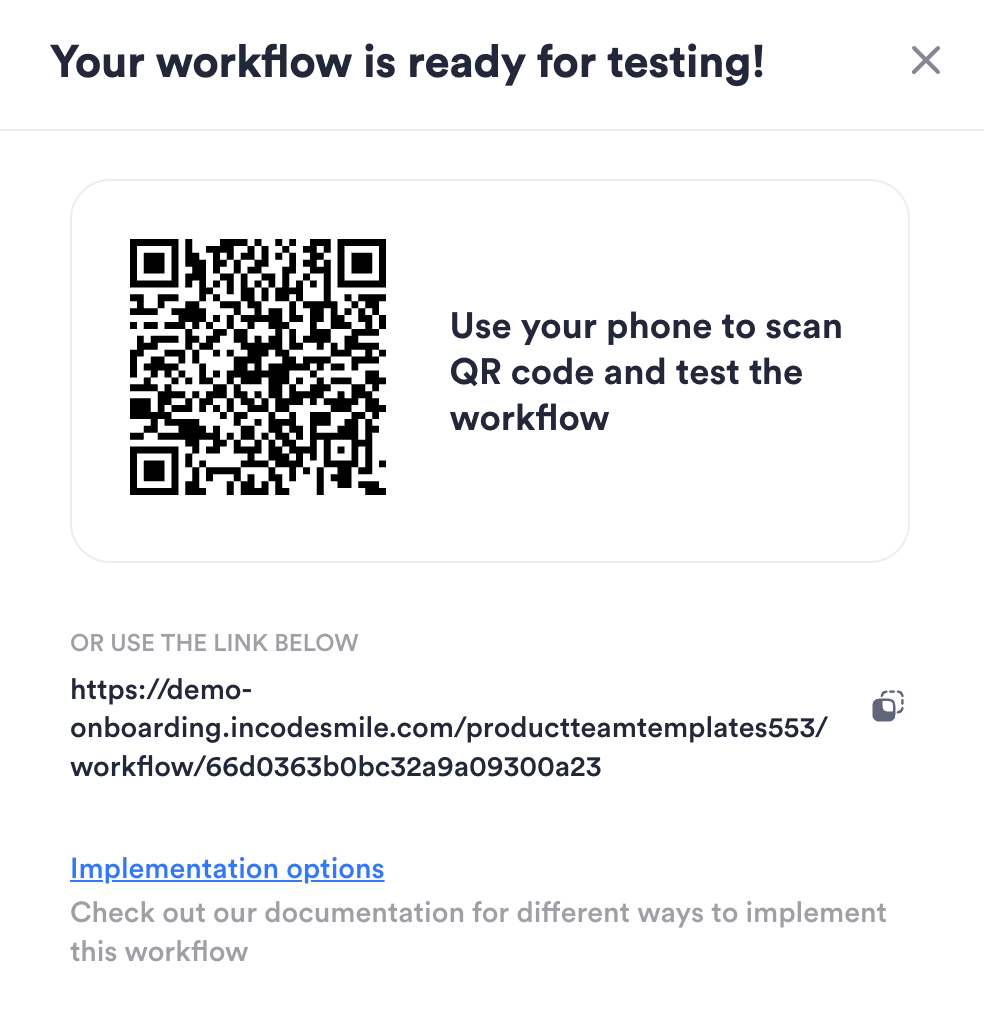
Scan QR code to try out your workflow
If you don't scan the code right away, you can also access it by clicking QR code icon in the workflow list.

Click QR icon to open QR code for workflow
Deploy a Workflow
With testing complete and any adjustments made, your workflow is now ready for full deployment. Ensure that it's activated in the Omni Dashboard and integrate it with your application or user interface as needed. More information regarding available integration options can be found in Workflow Implementation Options
Updated 4 months ago